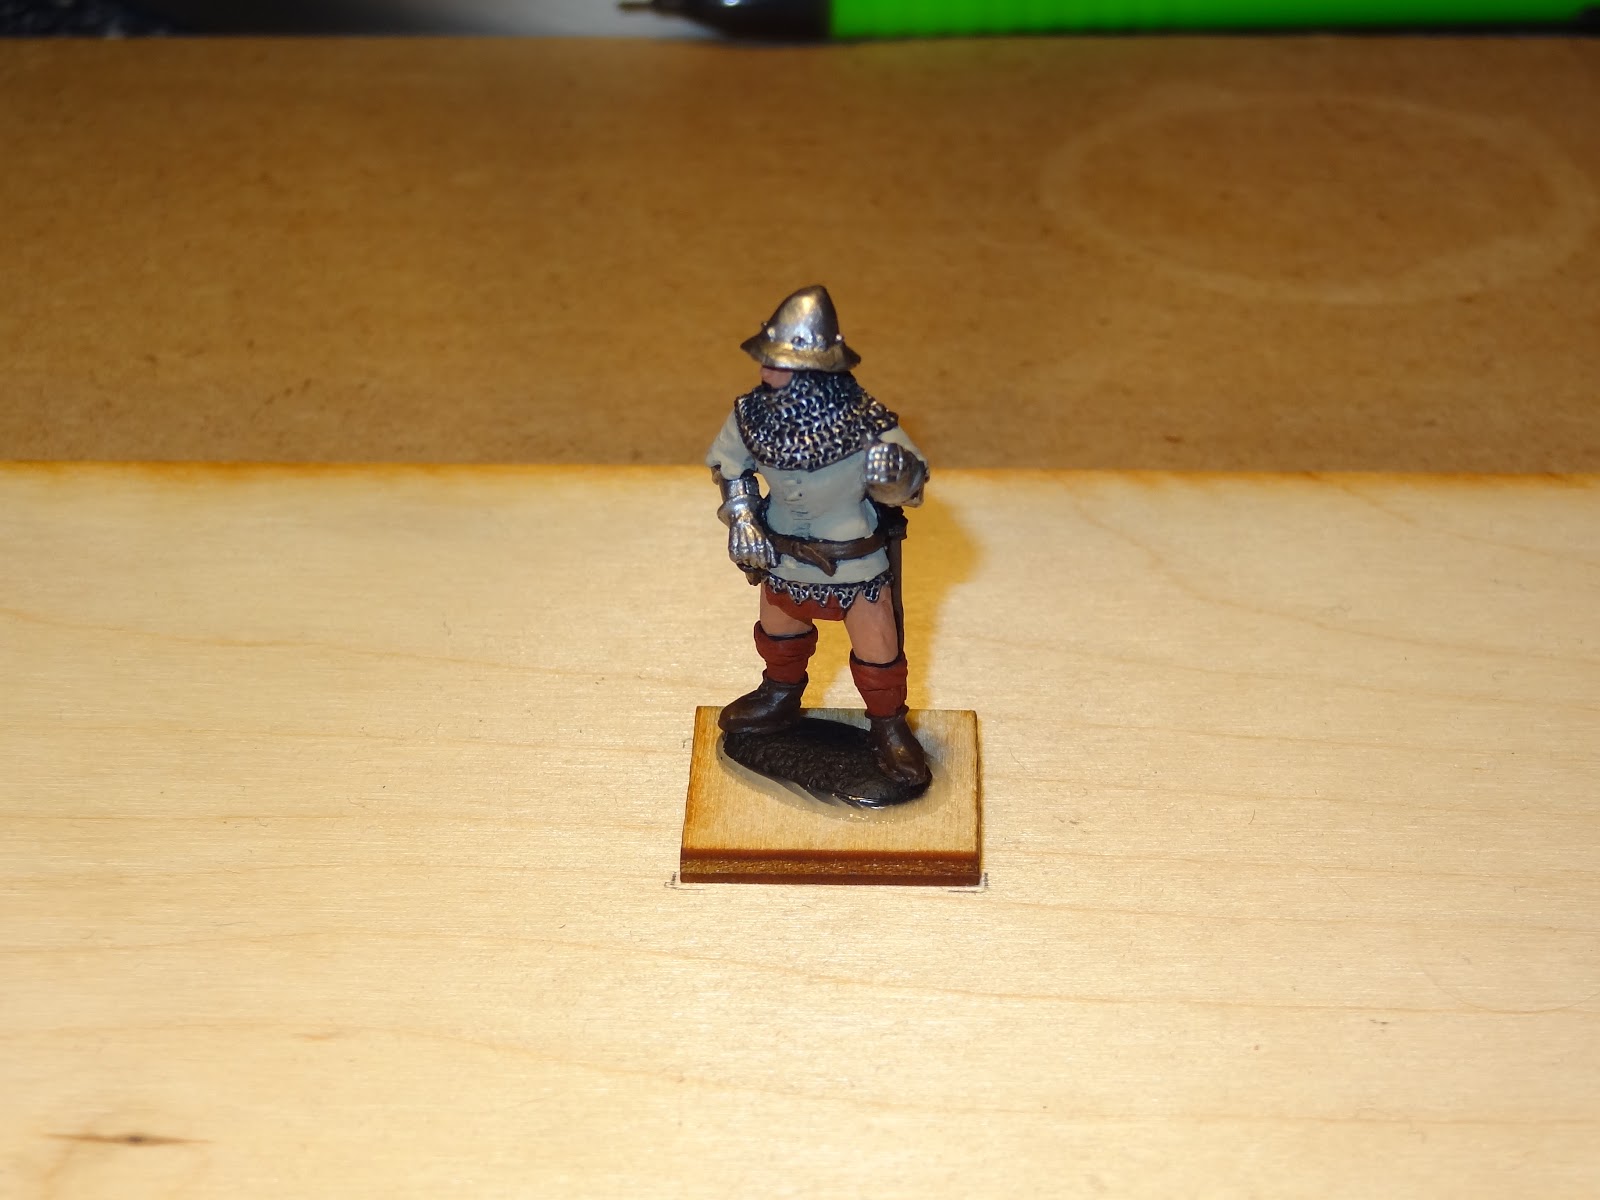
This is a Perry Miniatures Standard Bearer.
Primed black then base colors applied.

A mixture of Future Floor Clear, water, and GW black ink is applied to the GW Bolt Gun Metal to give it a shine, and so that the deep parts of the metallic get dark.

Vallejo Sepia ink is applied to all parts of the model except the Bolt gun and skin parts.

GW Flesh Wash ink is applied to the skin.

All parts except the armor is highlighting on the raised parts of the model. Block style painted on skin is necessary because the muscle definition is not actually molded on the miniature.


Finished Product then the only thing needed is to base the model.

Nice! I paint 15mm but recently clicked up to 28mm for a gladiator project and some of my old tricks don't work in 28mm scale. This step by step really helps and its taught me a couple of things!
ReplyDeleteIm glad it helped. I'll be sure to add a more in depth step by step because this one seems too general.
ReplyDelete18 months later and I'm finally painting some Perry HYW knights. And I found my way back to your blog! Thanks a 2nd time.
ReplyDelete